As our Membership Organization product continues to grow and evolve, we’re excited to launch a new blog series highlighting some of its new and most powerful features. Each post will explore a specific tool or capability designed to help organizations better manage their members, engage their communities, and gain valuable insights from their data.
This blog will focus on building Membership Saved Reports and how you can use them to view and manage participant data.
Saved Reports allow you to build customized reports that consistently apply your selected filters whenever you view or export your membership data.
Creating a Saved Report
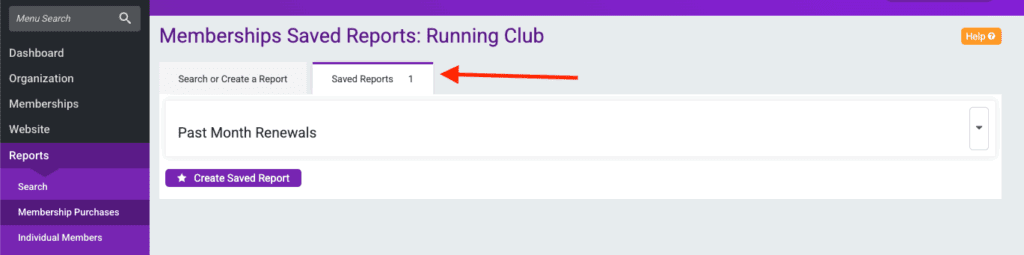
To create a new Saved Report, navigate to the report in the dashboard that you would like to build from and click “Create a Saved Report”.
In the Membership Organization dashboard, you can create saved reports from the Membership Purchases (Reports >> Membership Purchases), Individual Members (Reports >> Individual Members), and Expiring Members (Reports >> Expiring Members) reports. The filters and columns available for each saved report type depend on the filters and columns available for that corresponding dashboard report.
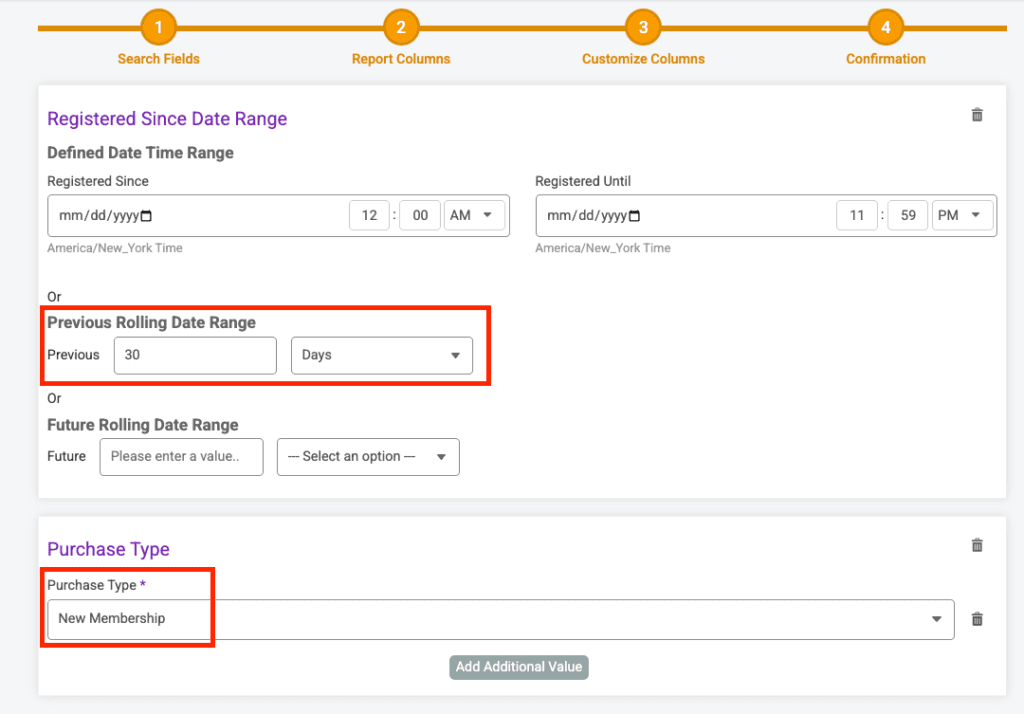
When adding a new Saved Report, you can add Search Fields, select the Report Columns to show, Customize Columns to rename and re-order the columns in the report, and Confirm and name the report before saving it.
Search Fields
The Search Fields are used to set boundaries to filter and limit the data that will show in the report. Some of these search fields can be free response fields that the report creator will fill in, such as member information, membership ID, membership dates, etc., and some require the report creator to select from the options listed, such as including imported purchases or not, new membership or renewed membership purchase type, membership status, etc.
Each Saved Report can have zero, one or multiple Search Fields set.
When you have completed adding the search fields, click Save & Continue
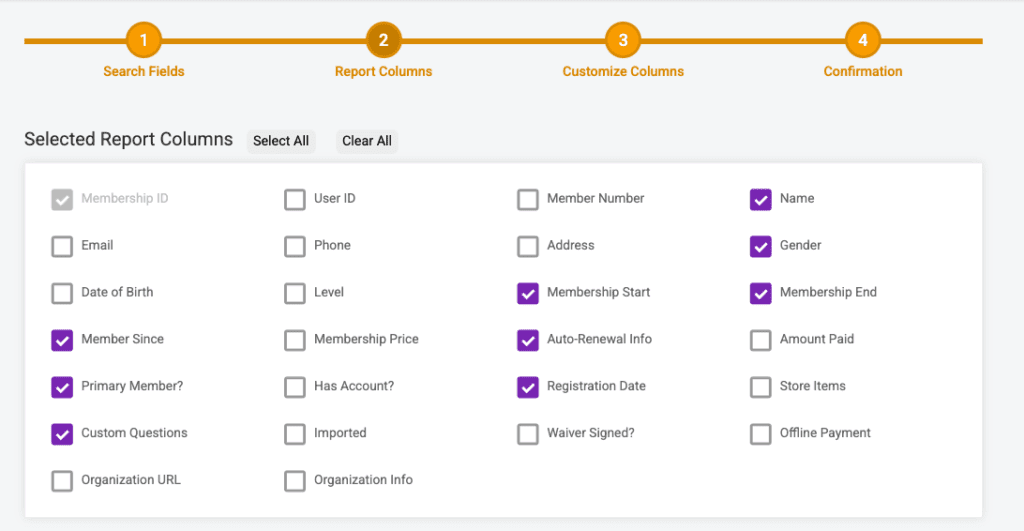
Report Columns
The second step of the Saved Report setup is selecting which columns to show in the report. Use the checkboxes to select the columns you want to show.
When you have completed selecting the report columns, click Save & Continue
Customize Columns
Next, you can customize the columns in the report by editing the column names and re-ordering the columns.
To edit the column heading names, click the pencil icon on the right hand side of the column name and type in the textbox.
To re-order the columns, use the drag and drop icons on the left hand side of the column.
When you have completed customizing the report columns, click Save & Continue
Confirmation
Lastly, you can confirm all of the information setup in the first three steps and name the report.
Once you have completed confirming the report click Save Report.
View and Edit Saved Reports
After saving the report, you can find it under the Saved Reports tab on the report where it was created.
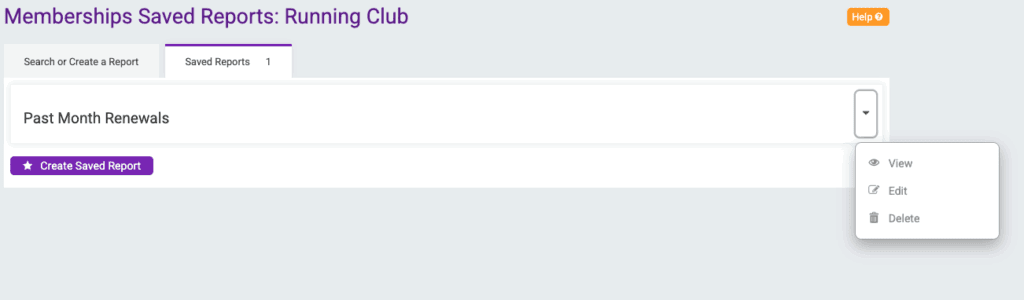
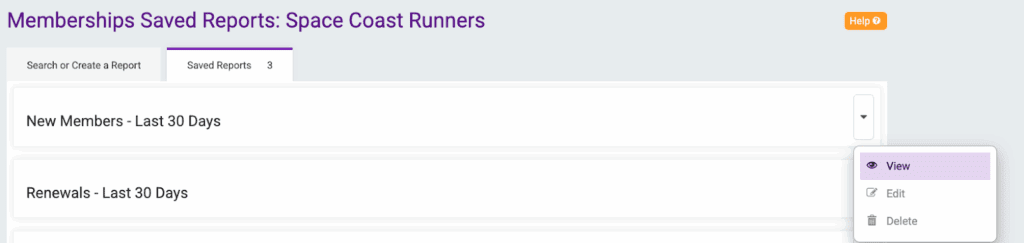
Click the dropdown arrow on the right hand side of the report to View, Edit or Delete that Saved Report.
When editing the report, you can adjust any of the settings you set when creating the report (Search Fields, Report Columns, Customize Columns, Confirmation).
When viewing the report, you can “Edit Columns” to show or hide specific columns from the saved report or use the “Export Options” dropdown to edit the report.
Richmond Triathlon Club uses the Saved Reports to quickly view the Individual Members report with their preferred report columns.
Instead of having to click “Edit Columns” to customize the columns they want to show in the report each time they access the Individual Members report, they use a Saved Report with no Search Fields, and they select the specific Report Columns they want to show.
Subscribe to Our Blog
Subscribe to Our Blog
If you continue to use this site, you consent to use all cookies. We use cookies to offer you a better browsing experience. Read how we use cookies and how you can control them by visiting our Privacy Policy.
You can opt-out of non-essential cookies any time using the button below.