Event Information
WHEN
ON DEMAND
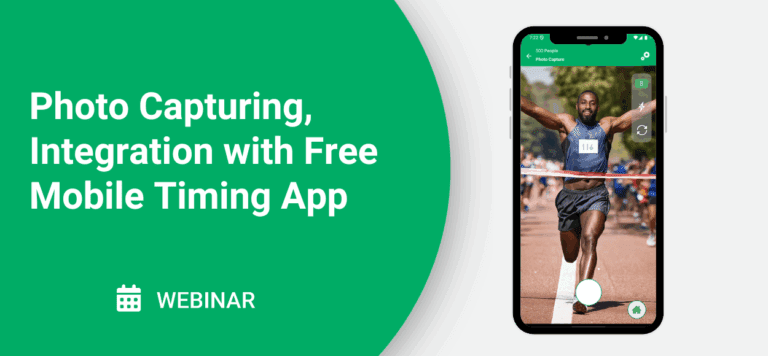
Designed for race organizers and timers, this webinar will explore how to use the photo tools built into the mobile app to easily capture, manage, and attach photos to participant results.
In this session, you’ll learn:
- How to capture participant photos using the free RaceDay Mobile Timing App
- Uploading and syncing photos with RunSignup results pages
- Tips for organizing and associating photos
- Event and sponsor promotion
- Best practices photo capturing
The Mobile Timing App’s photo feature provides a simple and effective way to deliver a more engaging race experience, while also saving valuable time and money.
Summary of Webinar
Overview
Learn how to capture, organize, and publish race-day photos using the free RaceDay Mobile Timing App—and automatically attach them to participant results. The session covers quick setup for volunteers and staff, new auto-capture options, tips to control data usage, and simple ways to monetize photos with sponsor watermarks.
Who Should Watch: Race directors, timers, and volunteer coordinators looking to offer photos without hiring a full photo crew (or to complement pros at the finish).
What You’ll Learn
Why photos matter: Auto-tagging bibs, instant result-page photos, and sponsor watermarking to create shareable moments and new revenue.
Two capture modes:
Standalone Photo Capture (most common)
Backup Timing + Photo (snaps a photo when you record a backup time)
Easy setup: Install the RaceDay Mobile Timing App (iOS/Android), import your race from RunSignup, pick or create an album, and start shooting.
Albums & organization: Create albums by location (Finish, Split Points, Awards) and set cover images for a clean gallery.
Upload + tagging: Photos queue on-device when offline and auto-upload when connected; bib detection links images to results automatically.
Auto-capture (new): Run timed intervals (e.g., every 5 seconds for 3 hours) for unattended finish-line coverage, with data-usage estimates shown in-app.
Controls & indicators: Live counters for taken/uploaded photos, color status (green/yellow/red) for upload health, Wi-Fi-only upload option, flash/camera flip, aspect ratio (16:9 or 4:3), and quality/compression settings.
Sponsor promotion: Apply race or sponsor logo watermarks (one placement for all albums) to add tangible partner value.
Access & permissions: Grant “Photo” access to specific emails; revoke access post-event. Avoid shared logins; pre-log devices for volunteers.
Best Practices (from the field)
Use bib validation: Enable bib-range rules; remove unassigned/out-of-range numbers to avoid false tags (like speed-limit signs or banners).
Favor 4-digit bibs & high contrast: Improves OCR when bibs are partially covered; watch your kerning and color contrast.
Watermark smartly: Pick one corner (bottom-right is popular) and frame shots to leave space there. Test with a throwaway album, then delete.
Right-size logos: If your race logo is too large, create a sponsor logo variant just for watermarking.
Auto-capture setup: Tripod + Bluetooth clicker is great; for unattended intervals, set duration/intervals thoughtfully. A real-world example: two tablets, medium quality/compression, every 5 seconds for ~5 hours used ~4.5 GB total—“super manageable.”
Power planning: Expect heavy camera drain; bring battery banks or wired power.
Data control: Consider Wi-Fi-only uploads or unlimited data. The app shows estimated usage per 100 photos and per auto-capture run.
Photographer Workflow & Large Uploads
Pros should upload via the web interface (JPEG/PNG, under ~5MB each) in batches (≈250 at a time). Keep a dedicated “Professional Photos” album so their finish-line shots shine, while volunteers cover the course.
Q&A Highlights
Testing: Create a test race on RunSignup and import it—photos taken in a local-only mobile timing race won’t integrate with RunSignup photos/results.
Orientation: Portrait or landscape both work; just rotate the device.
Storage behavior: Photos persist on the device until the platform confirms upload, then they’re removed from the device (not saved to the phone’s gallery).
Interval control: You can pause auto-capture and change the interval on the fly as density changes.
Upload source: You must capture in the app; it does not upload existing photos from your camera roll.
Access scope: Granting “Photo” access doesn’t allow results publishing; that’s separate timer access.
Roadmap ideas: Motion/bib detection triggers and enhanced timestamp metadata for smarter capture in the future.
