You’ve completed your initial race set-up going through the Race Wizard, but now what? How do you make your event website stand out and match your branding? Let’s dive into how to really customize your event website with adding custom pages – without any coding – using Websites V2.
In order to view the content you create in the Website Builder, you must enable Website V2. Do this by going to Race >> Website V2 >> Website Settings. By default, we will enable system pages based on your event setup. Once you’ve enabled Website V2 you can start to add custom pages.

When creating your race website you want to think about your menu structure. Your menu is the way you choose to organize your event information. If you have only a few pages to add, you can simply add each page (steps below). Each page will show as its own menu item at the top of your website. If you have more than a few pages you want to add, it’s best to create a dropdown menu.
How to Add a “New Page”
Adding a “New Page” allows you to create pages as complex or simple as you want. Add a page to show off your sponsors, feature photos from last year’s race, ways to volunteer, and more – the possibilities are almost endless. To access the Website Builder navigate to Race >> Website V2 >> Website Builder. Once Website Builder is open simply click the “+” button in the lower right corner and select “Add New Page”

How to Add Content and Sections to Your Page
Once you’ve created your new page, it’s time to add custom content and build a fully branded website for your event. You can enhance your website by adding custom sections and components.
- Sections are one or two column blocks that house one or more components. A section is entirely one or two columns – if you need to change the number of columns for your content, you want to add a new section.
- Components are the content blocks that fill up sections (text, buttons, images, contact forms, countdown clock, Strava Map, and more!). A section can house just one component or more than one component.
This diagram illustrates how sections and components work together:
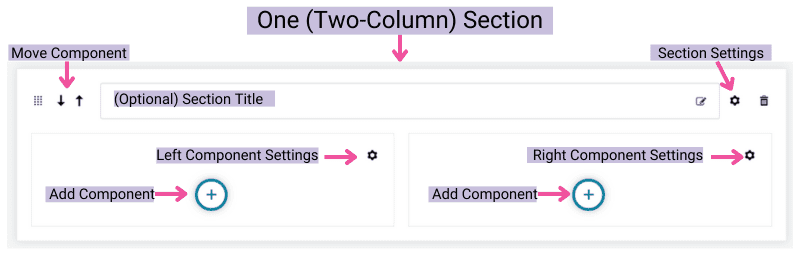
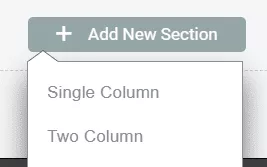
To add a new section, simply click on the plus sign by “Add New Section” at the top or bottom of your page in website builder. Then, choose the appropriate number of columns and add your components accordingly.
How to Add a “New Dropdown”
If you race has a lot of information, implementing dropdowns will help keep everything organized. A dropdown creates a topline menu item (i.e. Race Info) with additional pages underneath it (i.e. Race Course, Awards, Swag, etc,).
To add a dropdown:
- Navigate from your race dashboard to Website Builder
- Click the “+” button n the lower right corner
- Select “Add a New Dropdown“

Once you’ve added a dropdown, the website builder will automatically create the first page within it. You can rename the page and add additional pages as needed.
You can rearrange pages and dropdowns by clicking and dragging the grid gear icon to reorder.
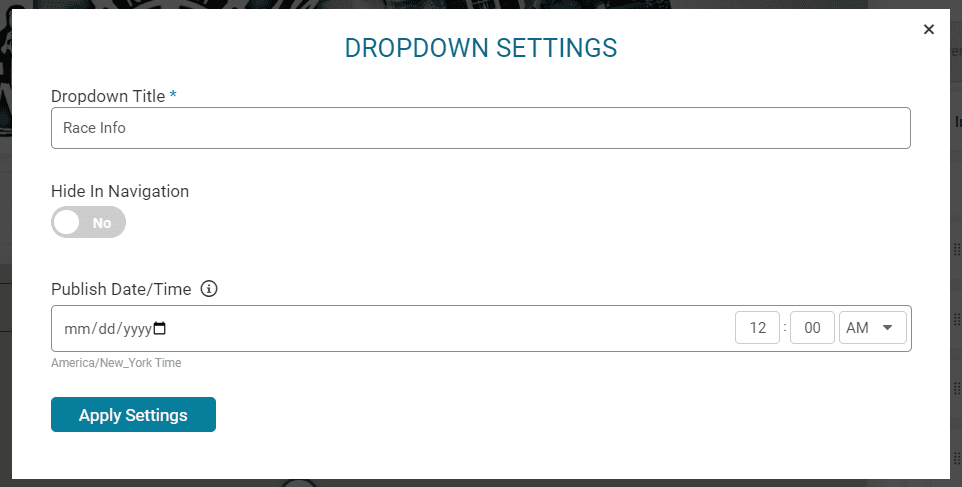
To access dropdown settings, click the gear icon next to the menu title. This allows you to:
- Hide content in the navigation menu
- Set a publish date/time for future release
- Keep pages private (e.g. a race morning logistics page that only appears closer to race day)
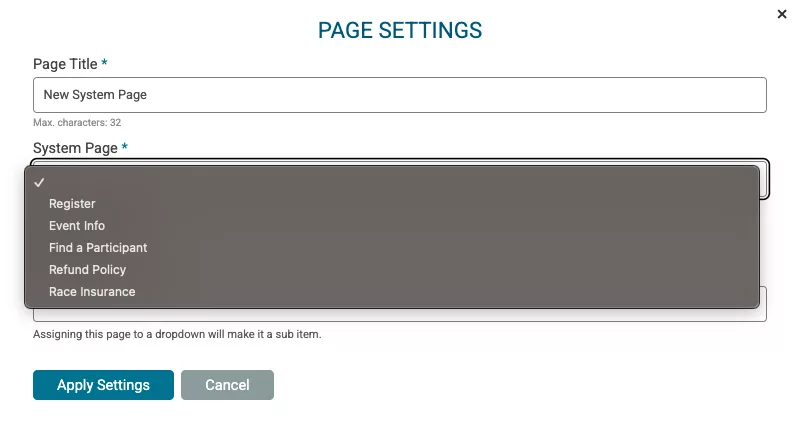
How to Add a System Page
System pages are automatically created by RunSignup to include key race information. These cannot be customized, as they pull information directly from your race dashboard. Current system pages include:
- Register
- Event Info
- Find a Participant
- Refund Policy
- Race Insurance

Similar to dropdowns, system pages include gear icon setting that allows you to:
- Rename the page (e.g. change “Event Info” to “Race Day Info”)
- Set publish settings (e.g. make results visible only on race day)
- Move the page into a dropdown
Want to learn more about customizing your event website? Watch our Websites V2 webinar for a full walkthrough of all the features available.