This feature will be publicly released in mid April, 2019.
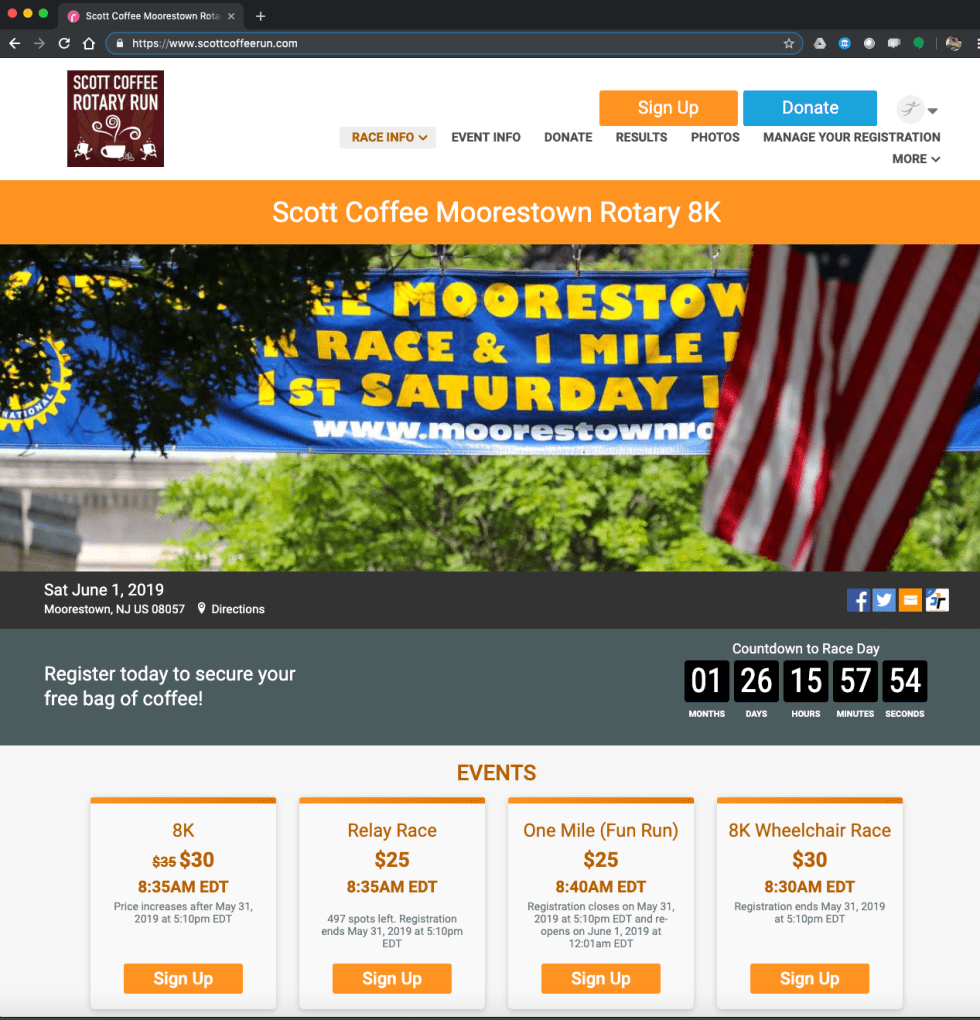
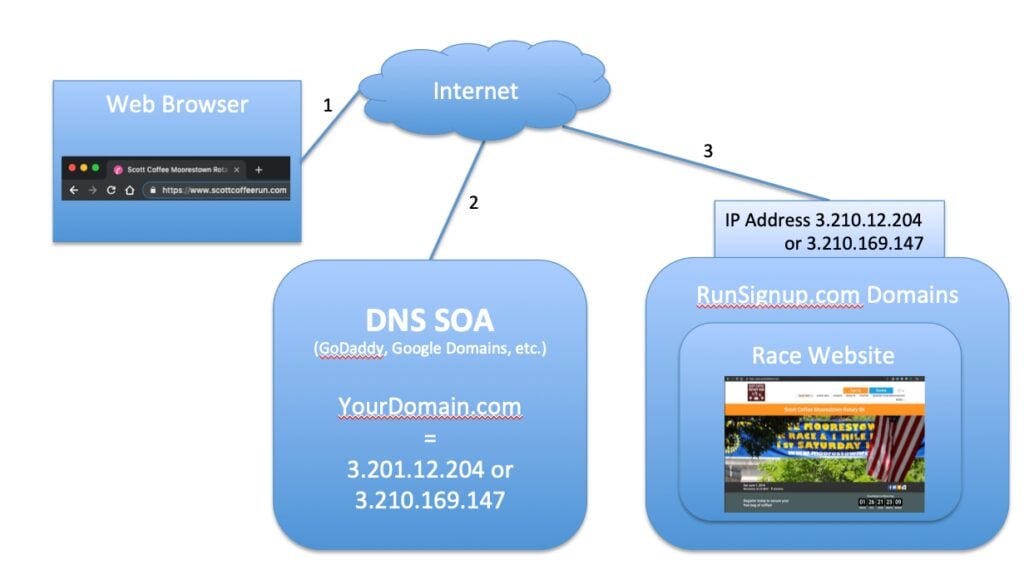
RunSignup is offering “BYO Domain” to our free website hosting for races and nonprofits. In this example, we bought the domain name ScottCoffeeRun.com on GoDaddy, and then pointed that domain to RunsignUp so that name can be used in addition to RunSignup.com/ScottCoffeeRun. This blog covers the detailed steps taken. The screen shots are subject to change. For more information on the basics of what is happening, please refer to our general blog on Domains, DNS and Internet Basics.
Step 1 – Add Your Domain in RunSignup Race (and soon more!) Dashboard. This will be under a new Menu option called domains:

Step 2 – Get your Ownership Validation information for getting an SSL Certificate. This will appear in your RunSignup dashboard soon after you enter your domain name in Step 1. There will be two records that will be put into your Domain DNS Settings in Step 3. This will look something like this:

Step 3 – Enter the above Host and Record Values into your Domain DNS TXT Records. The purpose of this is that our SSL Certificate generation needs to validate that you really do own the domain name. By putting those values in, we will check they are there every 15-30 minutes and then issue an SSL certificate for this website to ensure it is secure. This must be done within 72 hours, as our the records will expire after that amount of time.
To find where to enter this, log into your GoDaddy account and click on Manage that particular Domain. You will see a fairly lengthy page as show below. You are looking for DNS.


In the Manage DNS, you are looking for the Records:

Note when you have just bought a domain the A Record shows as “Parked”. This means it is not pointing to a website host. If you are moving from another website hosting provider, then it will be something else.
In this example, again since it is new, there are no TXT records. Even if there are, you will want to add new TXT records by clicking the “ADD” link in the bottom right. When you add new, you will have options – pick TXT:

You will enter the first Host and Record Value you can find on the RunSignup Dashboard Domains page into this GoDaddy page. Leave the Type as TXT and leave the TTL as 1 Hour (make sure to do _acme-challenge Host first):

You need to do this twice – once for each Host and Record:

This will allow for the SSL certificates for both ScottCoffeeRun.com and http://www.ScottCoffeeRun.com to work.
Step 4: Wait for the SSL Certificate to be generated and to see a success message in that step on the RunSignup domain dashboard. It will take about 15-30 minutes for us to validate this and issue the certificate. If you made a mistake in entering the TXT records, you will not see success. We recommend you wait an hour and if there is not success, delete those records in GoDaddy, and try again.
Step 5: Set the A Record. Now that you have a valid SSL certificate, you are ready to tell the SOA (Start of Authority) Domain Name Server to point that domain name at your RunSignup Domains Website. In GoDaddy, click to edit your A Record on the main DNS Manage Records page. You should only change the “Points to” information and enter the IP Address you received on your RunSignup dashboard (it will be either 3.201.12.204 or 3.210.169.147.

Step 6: Add or Rename the CNAME. Again, go to the main GoDaddy DNS Manage Records page. If this is a new domain, you may see a CNAME for “www” already there with a Value of “@”. If you see that, then edit the “@” and replace it with “custom.runsignup.com”. If you do not see a CNAME record with “www”, then click “ADD” (leave the existing CNAME(s)). Then select CNAME:

Then set the Host to be “www” and the Points to to be “custom.runsignup.com” as shown below:

When complete the Records should look similar to this with only 1 “www” record (if you are moving an existing domain, there may be more records than this):

Step 7: Complete! If you now enter your domain name into a web browser, you will be connected with your RunSignup website.